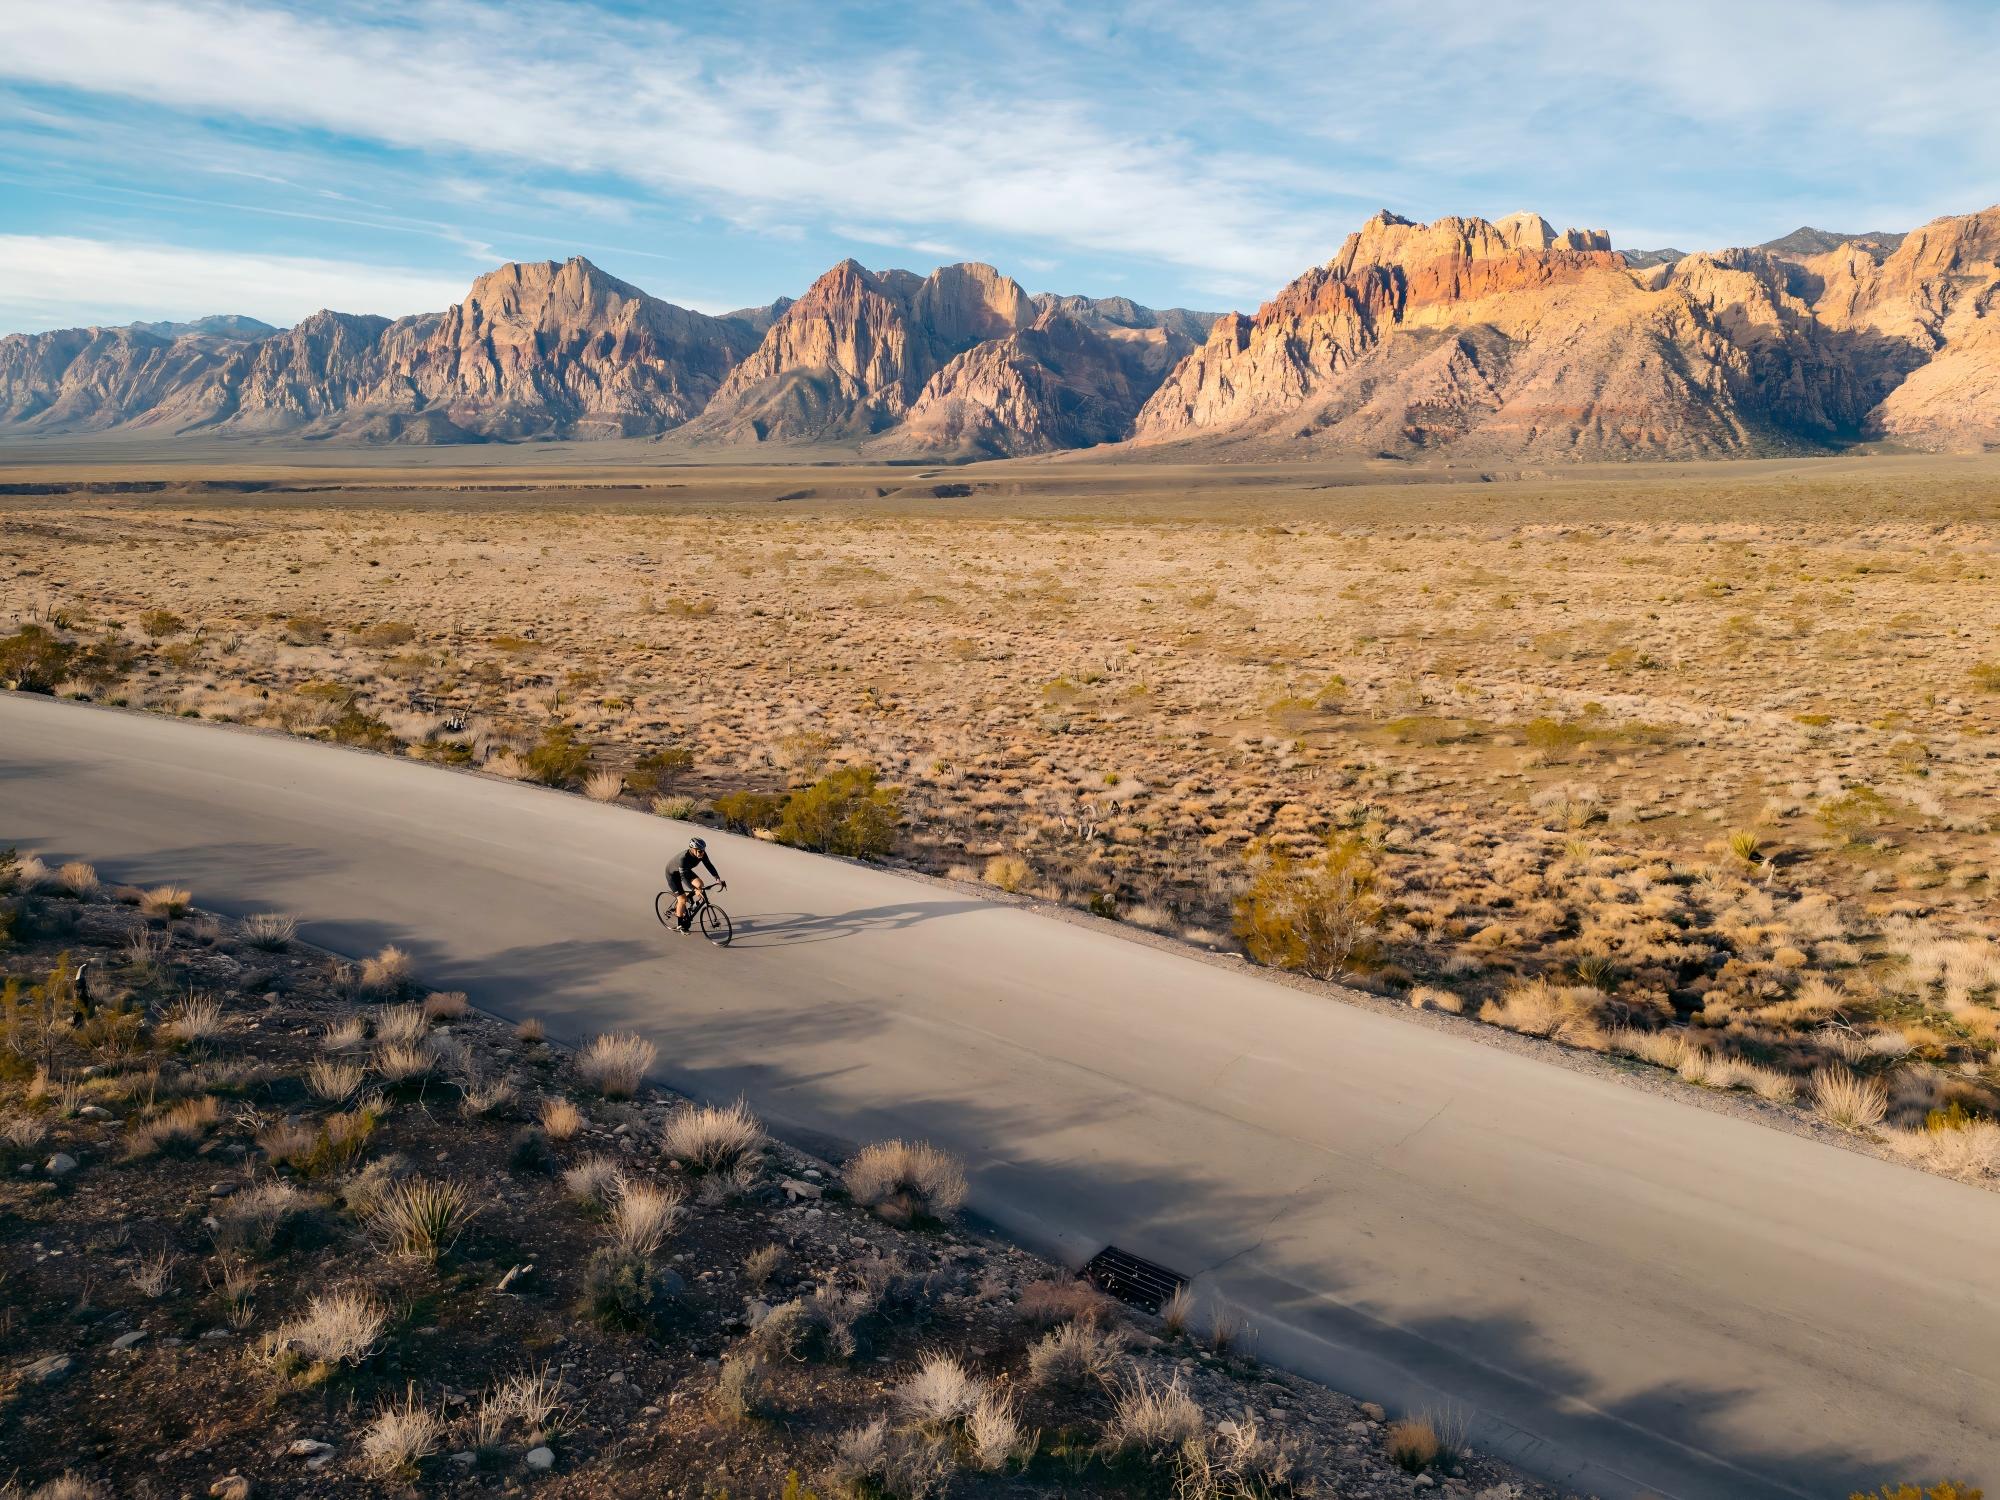
You are 60 kilometers into a gravel route you found online. The last paved road disappeared 40 minutes ago. Your phone lost signal somewhere around kilometer 45. The fork ahead splits into two dirt tracks — one climbs steeply into fog, the other drops toward a river you cannot see. There is no signpost. There is no cell coverage. The only thing standing between you and a very long, very wrong detour is the small screen on your handlebars.
This is where GPS navigation stops being a spec-sheet feature and starts being the reason you make it home before dark.
Yet for most cyclists, navigation is an afterthought. They buy a device for speed and power data, then discover mid-ride that the map is unreadable, the rerouting is broken, or the battery died two hours before the finish. According to a 2024 survey by Komoot, over 40% of cyclists have taken a wrong turn on an unfamiliar route due to poor device navigation — and on gravel or rural roads, a wrong turn can mean hours of added riding.
This guide covers everything you need to know about GPS navigation for cycling — how satellite systems work, what makes a cycling GPS accurate, how to plan safer routes, and what features actually matter when the road disappears. Whether you commute through city streets, train on country roads, or bikepacking across mountain passes, you will know exactly what to look for and what to ignore.
Safety Disclaimer: This guide provides general information about cycling navigation technology. Always carry backup navigation (paper map, charged phone) on remote rides. Route suggestions from any device should be verified against local conditions.
How GPS Works on a Cycling Device: The Basics

GPS (Global Positioning System) is one of several Global Navigation Satellite Systems (GNSS) that pinpoint your location using signals from orbiting satellites. Your cycling device receives time-stamped signals from multiple satellites and calculates your position through trilateration — the intersection of signal spheres.
But GPS alone is just one constellation. Modern cycling devices tap into multiple satellite systems simultaneously:
| Satellite System | Origin | Active Satellites | Coverage |
|---|---|---|---|
| GPS | United States | 31 | Global |
| GLONASS | Russia | 24 | Global |
| Galileo | European Union | 28 | Global |
| BeiDou | China | 45 | Global (optimized for Asia-Pacific) |
| QZSS | Japan | 4 | Asia-Pacific regional |
Why multiple systems matter: More satellites in view means faster position fixes and better accuracy — especially in challenging environments like urban canyons, dense forests, and mountain valleys where some satellites may be blocked by terrain.
The key number: a device needs signals from at least 4 satellites to calculate a 3D position (latitude, longitude, altitude). With multi-GNSS, your device can see 20–30 satellites simultaneously instead of 8–12 from GPS alone.
Single-Band vs Dual-Band GNSS: Why It Matters More Than You Think
This is the single most important GPS spec for cyclists — and the one most buyers overlook.
Single-band (L1 only)
Traditional GPS devices receive signals on one frequency (L1). These signals bounce off buildings, cliff faces, and tree canopy before reaching your device — a problem called multipath error. The result: your recorded track drifts, your distance is wrong, and turn-by-turn directions fire too early or too late.
On an open road with clear skies, single-band GPS is adequate. The moment you ride through a city center, a forested trail, or a mountain switchback, accuracy degrades significantly — sometimes by 10–30 meters.
Dual-band (L1 + L5)
Dual-band GNSS receives signals on two frequencies simultaneously. The L5 signal is newer, more resistant to interference, and allows the device to detect and correct multipath errors in real time.
Real-world difference:
| Scenario | Single-Band Accuracy | Dual-Band Accuracy |
|---|---|---|
| Open road, clear sky | 3–5 meters | 1–2 meters |
| Urban canyon (tall buildings) | 10–30 meters | 2–5 meters |
| Dense forest canopy | 8–20 meters | 2–4 meters |
| Mountain switchbacks | 10–25 meters | 3–5 meters |
For navigation, this is not an academic difference. A 20-meter GPS drift in a city means your device thinks you are on a parallel street. A 15-meter error on a mountain trail means missed turns. If you ride anywhere with obstructions — buildings, trees, cliffs — dual-band is not optional.
Why Most Cyclists Still Struggle With Navigation
Despite years of GPS advances, navigation remains one of the most frustrating aspects of cycling technology. Here are the three core problems.
1. Route planning is disconnected from the ride
Most cyclists plan routes on a computer or phone app (Komoot, Ride with GPS, Strava), then transfer the route file to their cycling device. This process often involves exporting GPX files, syncing through cloud platforms, or connecting cables. If something goes wrong — a failed sync, a corrupted file, an incompatible format — you discover it at the start line, not at your desk.
And once you are riding, the route is static. Miss a turn or take a detour for coffee, and many devices lose the ability to guide you back.
2. Map readability is poor at speed
A map that looks great on a 6-inch phone screen becomes unreadable on a 2.5-inch cycling device at 30 km/h. Too many roads, too much detail, tiny text, and no visual hierarchy. Many devices show the same map zoom and detail level whether you are in a city center or on an empty country road.
The result: riders slow down, squint, or stop entirely to figure out where to turn. Every second of eyes-off-road attention is a safety risk.
3. Battery dies before the ride ends
GPS navigation is the single biggest battery drain on any cycling device. Continuous map rendering, satellite tracking, and screen-on time can cut battery life by 40–60% compared to data-only recording. For a 6-hour gravel ride or a multi-day bikepacking trip, this is not just inconvenient — it is a safety problem.
Many riders carry power banks and cables, adding weight and complexity. Others disable navigation mid-ride to conserve battery, defeating the purpose entirely.
The Navigation Features That Actually Matter
Not all navigation features are created equal. Here is what to prioritize based on how and where you ride.
Offline maps

If you ride anywhere without reliable cell coverage — rural roads, gravel trails, mountain passes, or simply areas with poor network infrastructure — offline maps are non-negotiable.
Offline maps are pre-downloaded and stored on the device. They work without a phone connection, without WiFi, without anything except satellite signals. Look for:
- Full vector maps (not just breadcrumb trails) — vector maps show roads, trails, terrain contours, and points of interest
- Automatic map updates — outdated maps mean outdated roads
- Regional downloads — download only the areas you need to save storage space
- Routable maps — maps that can calculate new routes on-device, not just display pre-loaded tracks
Breadcrumb trails vs full maps: A breadcrumb trail shows only the line of your planned route — nothing else. If you go off-route, you see a dot and a line with no context. Full offline maps show surrounding roads, letting you navigate back or find alternatives without a phone.
Turn-by-turn navigation
The difference between basic routing and good turn-by-turn navigation is the difference between "the route goes generally north" and "turn left in 200 meters onto Oak Street."
Key features to look for:
- Advance turn warnings — visual and/or haptic alerts 200–500m before each turn
- Auto-rerouting — when you miss a turn or deviate, the device calculates a new route back without stopping
- Simplified map view — strips away unnecessary detail near turns, showing only the immediate junction
- Voice or haptic cues — especially important for riders who cannot safely look at a screen mid-ride
Route planning and import
The best navigation device is useless if you cannot get your route onto it easily.
- Direct app integration — sync routes from Komoot, Strava, Ride with GPS without exporting files
- GPX/FIT file import — universal format support for routes from any platform
- On-device route creation — plan a route directly on the device by selecting a destination, useful for spontaneous rides
- Popular route suggestions — heatmap data showing where other cyclists ride, helping you discover new routes and avoid dangerous roads
Cycling-specific routing
General car GPS will route you onto highways and multi-lane roads. Cycling-specific routing should:
- Prioritize bike lanes, cycle paths, and low-traffic roads
- Avoid highways, motorways, and roads where cycling is prohibited
- Factor in surface type — paved vs gravel vs dirt, especially important for road bikes
- Consider elevation — offer flatter alternatives or warn about steep climbs
GPS Navigation by Ride Type: What You Actually Need
Your navigation needs change dramatically based on where and how you ride.
Road cycling: Navigation is a convenience

On paved roads with good signage and cell coverage, navigation is helpful but rarely critical. You probably know your regular routes. You can pull out your phone if lost. The stakes are low.
What matters most: Clean route display, Strava segment integration, accurate distance-to-destination. Full offline maps are nice to have but rarely essential.
What doesn't matter as much: Complex rerouting, trail-level detail, multi-day battery.
Gravel riding: Navigation becomes essential

Gravel changes everything. Roads are unmarked. Junctions look identical. Cell coverage disappears. A wrong turn that costs 2 minutes on a road ride can cost 2 hours on gravel.
What matters most:
- Offline maps with full routable vector data — breadcrumbs are not enough
- Dual-band GNSS — tree canopy destroys single-band accuracy
- Auto-rerouting — because you will miss turns on unmarked trails
- Surface type indication — knowing whether a track is paved, gravel, or dirt before you commit
- Battery life — minimum 10–15 hours with navigation active
Bikepacking: Navigation is a safety system
On multi-day rides, your GPS device becomes survival equipment. You cannot afford battery failure, map gaps, or inaccurate positioning in remote areas.
What matters most:
- 20+ hours of GPS navigation battery life — or solar/external charging capability
- Complete offline map coverage — download entire regions before departure
- Elevation profile preview — know what climbs are coming before they arrive
- Points of interest — water sources, bike shops, campgrounds, shelters
- Track recording — continuous breadcrumb trail for backtracking if needed
Urban commuting: Navigation meets safety
City riding has its own navigation challenges. Dense buildings cause GPS multipath errors. Bike lanes appear and disappear. Traffic conditions change by the minute.
What matters most:
- Dual-band GNSS — essential for accuracy between tall buildings
- Cycling-specific routing — avoids highways, prioritizes bike infrastructure
- Real-time traffic awareness — reroute around congestion or road closures
- Compact, glanceable display — quick direction confirmation without long screen stares
How to Plan Safer Cycling Routes
The safest ride starts before you clip in. Route planning is the most underrated safety tool in cycling.
Use cycling-specific platforms
General navigation apps (Google Maps, Apple Maps) treat cycling as an afterthought. Dedicated cycling platforms offer dramatically better results:
| Platform | Strengths | Best For | Price |
|---|---|---|---|
| Komoot | Surface type data, sport-specific routing, community highlights | Gravel and touring | Free (basic) / regional maps ~$4–$30 |
| Ride with GPS | Advanced route builder, cue sheets, club features | Organized rides and clubs | Free (basic) / $80/yr premium |
| Strava | Heatmaps showing popular cycling roads, segment data | Discovering popular routes | $80/yr (heatmaps require subscription) |
| Google Maps (cycling layer) | Real-time traffic, bike lane overlay, universal access | Urban commuting | Free |
Leverage heatmap data
Heatmaps show where other cyclists actually ride. Roads that many cyclists use are generally safer — they have been tested by the community, usually have acceptable shoulders or bike lanes, and drivers on those roads are more accustomed to sharing with cyclists.
Conversely, roads with no cycling heatmap activity are either genuinely dangerous, have no shoulder, or have been avoided by experienced local riders for a reason.
Check surface and elevation before you go
- Surface type — a "shortcut" on a dirt road is not a shortcut if you are on a road bike
- Elevation profile — a flat route with one brutal 15% climb at kilometer 80 is a different ride than a gently rolling route. Preview the profile before committing
- Road width and traffic speed — where available, check whether roads have shoulders, bike lanes, or high speed limits
Build in safety margins
- Always plan for 10–15% more distance than the route shows — wrong turns, detours, and rerouting happen
- Identify bail-out points — places where you can cut the route short and navigate back safely
- Note water and shelter locations — especially for rides over 3 hours or in remote areas
- Share your route — tell someone your plan or use live tracking features
GPS Navigation and Ride Safety: The Connection Most Riders Ignore
Navigation is not just about finding your way. It is a core part of ride safety.
Eyes on the road
According to the Insurance Institute for Highway Safety (IIHS), bicyclist fatalities in the US reached 1,155 in 2023 — the highest number ever recorded. While vehicle behavior is the primary factor, cyclist distraction plays a role. Every second spent squinting at a map or fumbling with a device is a second your eyes leave the road.
The best cycling navigation systems minimize interaction:
- Haptic turn alerts — a vibration on the wrist or handlebars warns you before each turn, no screen-checking needed
- Auto-zoom — the map zooms in at intersections and out on straight stretches, adapting information density to what you actually need
- Simplified junction views — strips the map to only the relevant roads at each turn
- Audio or haptic cues — physical feedback that does not require visual attention
Modular navigation: bar-mounted display advantage
Traditional smartwatches require a wrist-twist to check navigation — which means taking a hand off the handlebars. A bar-mounted display sits in your natural sight line, readable with a quick glance just like checking speed.
A new generation of modular systems takes this further. The MossCode PHI uses a detachable dial that mounts on the handlebars during rides, providing:
- Ride-Aware Navigation — strips the map to adjacent streets only, auto-zooms before turns, and vibrates the wrist band as a physical turn cue
- Wrist-flip gesture control — switch between data screens and navigation view without touching the device or removing hands from the bars
- Glance-first visual design — large, high-contrast navigation tiles minimize reading time
- Continuous GPS recording — the bar-mounted dial handles navigation while the wrist band continues biometric tracking, no data gaps

This architecture means navigation and safety data (heart rate alerts, power zones) coexist on the same system without competing for screen space or battery life.
Emergency features
Modern navigation devices increasingly include safety features beyond routing:
- Incident detection — accelerometer detects crashes and can send your GPS location to emergency contacts
- Live tracking — share your real-time position with family or riding partners
- Find my way back — one-tap routing back to your starting point from anywhere
- Low battery routing — when battery is critical, automatically calculates the shortest route home
Dedicated GPS Device vs Phone vs Smartwatch for Navigation
| Criteria | Dedicated Cycling GPS | Smartwatch / Sports Watch | Phone + Mount |
|---|---|---|---|
| Map display | Large, bar-mounted, full vector maps | Tiny screen, basic breadcrumb or limited maps | Best map detail, but battery-draining at full brightness |
| Navigation safety | Eyes stay forward, glanceable | Requires wrist-twist (hands off bars) | Requires reaching to interact |
| Offline maps | Full offline support, on-device routing | Limited or no offline maps on most models | Partial (Google/Apple Maps offer limited offline) |
| GPS accuracy | Dual-band GNSS on mid-to-high-end models | Dual-band on flagship only | Dual-band on newer phones |
| Battery (nav active) | 8–30+ hours | 4–15 hours | 2–5 hours |
| Rerouting | Automatic, on-device | Limited or phone-dependent | Excellent (real-time cloud routing) |
| Weather resistance | Built for outdoor conditions | Good | Vulnerable (rain, vibration damage, heat) |
| Price | $200–$600 | $200–$1,000 | Free (if you own a phone) |
The core trade-off: Phones have the best maps but the worst battery life and safety profile. Dedicated GPS devices have the best on-bike experience but no off-bike utility. Smartwatches track health 24/7 but their small screens make navigation a safety compromise.
The emerging solution: Modular systems that separate a bar-mounted navigation display from a wrist-worn health tracker — combining the visibility of a dedicated GPS with the 24/7 utility of a smartwatch. One device, two modes.
Step-by-Step: Setting Up GPS Navigation on Your Cycling Device
Step 1: Download offline maps before you ride
Do this at home on WiFi. Download maps for every region you plan to ride in — and one region beyond, in case a reroute takes you further than expected. Map data typically uses 50–500 MB per region.
Step 2: Choose your route planning platform
Pick one platform and stick with it. Komoot for gravel/touring, Ride with GPS for organized rides, Strava for popular-road discovery. Sync it with your device before you leave.
Step 3: Verify the route
Before riding, check:
- Surface type — is the route all-paved, or does it include gravel/dirt sections?
- Elevation profile — any unexpected climbs?
- Total distance — add 10% buffer for detours
- Points of interest — where can you get water, food, or shelter?
Step 4: Configure navigation display
- Set the map orientation to "heading up" (the map rotates so your direction of travel is always up) — this is more intuitive than "north up" while riding
- Enable auto-zoom if available
- Set turn alert distance to 200–300 meters for road riding, 100–150 meters for city riding
- Enable haptic alerts for turns so you can keep your eyes on the road
Step 5: Manage battery for navigation
Navigation drains battery fast. Extend your range:
- Lower screen brightness — or use auto-brightness
- Use power-saving GPS mode for rides where meter-level accuracy is not critical
- Disable unused sensors — turn off heart rate or cadence if you only need navigation
- Carry a small power bank for rides over 6 hours with navigation active
Step 6: Practice before the big ride
Ride a familiar route using navigation first. Learn how your device shows turns, how far ahead alerts come, and how rerouting works. Discovering these mid-ride on an unfamiliar route is stressful and unsafe.
How Weather and Season Affect GPS Navigation
Rain and wet conditions
Touchscreens become unreliable in rain. Water droplets trigger false touches, and wet gloves make precise screen interaction nearly impossible. Devices with physical buttons or gesture controls maintain full functionality in wet conditions.
Rain also reduces visibility of low-brightness screens. Look for devices with ≥1,000 nits brightness and anti-glare coatings.
Cold weather
Cold degrades battery performance faster than any other factor. At 0°C, lithium-ion batteries can lose 20–30% of their effective capacity. A device advertised at 15 hours of GPS life may deliver only 10 hours in winter.
Mitigation: Keep the device close to your body when not navigating (wrist-worn mode on modular systems helps here), use battery-saver GPS modes, and start rides with a full charge.
Extreme heat
Direct sunlight on dark screens causes thermal throttling — the device dims the display or reduces GPS polling frequency to prevent overheating. AMOLED screens handle heat better than LCD but still throttle in extreme sun. MIP displays are the most heat-resistant but lack color vibrancy.
Night riding
Navigation at night demands the opposite of daytime: low brightness to preserve night vision, high contrast for readability, and dark mode map themes. Bright white map backgrounds at night are blinding and destroy your adaptation to darkness.
Frequently Asked Questions
Is GPS navigation necessary for road cycling?
For your regular training routes, no. For exploring new areas, group rides in unfamiliar locations, or any ride over 50 km in unknown territory, yes. Even experienced riders benefit from turn-by-turn guidance — it lets you focus on riding instead of memorizing directions.
How accurate is GPS on a cycling device?
Dual-band GNSS achieves 1–3 meter accuracy in most conditions. Single-band devices can drift 10–30 meters in urban areas or under tree cover. For reliable navigation, dual-band is the minimum standard in 2026.
Can I use my phone for cycling navigation?
Yes, but with significant trade-offs. Phones drain battery quickly with GPS and screen active (2–5 hours), are vulnerable to rain and vibration damage, and require reaching to interact — which is unsafe at speed. For casual city rides under 2 hours, a phone works. For anything longer or more remote, a dedicated device is safer.
What is the difference between breadcrumb trails and full maps?
A breadcrumb trail shows only your planned route as a line — nothing else. If you deviate, you see your dot moving away from the line with no context. Full vector maps show all surrounding roads, terrain, and points of interest, allowing you to navigate back or find alternatives without a phone.
How much battery does navigation consume?
Continuous navigation with map display typically uses 40–60% more battery than data-only recording. A device rated for 20 hours of GPS recording may last only 8–12 hours with navigation active. Always check the manufacturer's navigation-specific battery rating, not just the GPS recording time.
Do I need offline maps?
If you ever ride outside city centers — gravel roads, rural areas, mountain passes, or foreign countries with expensive roaming — yes. Even in cities, cell coverage can be spotty in tunnels, underpasses, and dense building areas. Offline maps are a safety net that costs nothing to have ready.
What is a modular sports watch and how does it handle cycling navigation?
A modular sports watch like the MossCode PHI splits into a bar-mounted dial and a wrist-worn band. During rides, the dial provides full GPS navigation on a large, visible AMOLED display mounted in your sight line — turn-by-turn directions, offline maps, haptic turn alerts, and gesture-based screen switching. Off the bike, the watch returns to your wrist for 24/7 health tracking. This design eliminates the navigation safety compromise of wrist-worn watches while keeping all your data in one system.
Ready to Navigate Smarter?
The best GPS navigation system for cycling is the one that keeps your eyes on the road and your route in context. Whether that is a dedicated bike computer, a phone for short city rides, or a modular system that puts a large screen on your bars and health data on your wrist — the goal is the same: ride farther, ride safer, and never wonder where the road goes.
Last Updated: 2026.04.08
Share:
What Is a Cycling Computer and Do You Need One?